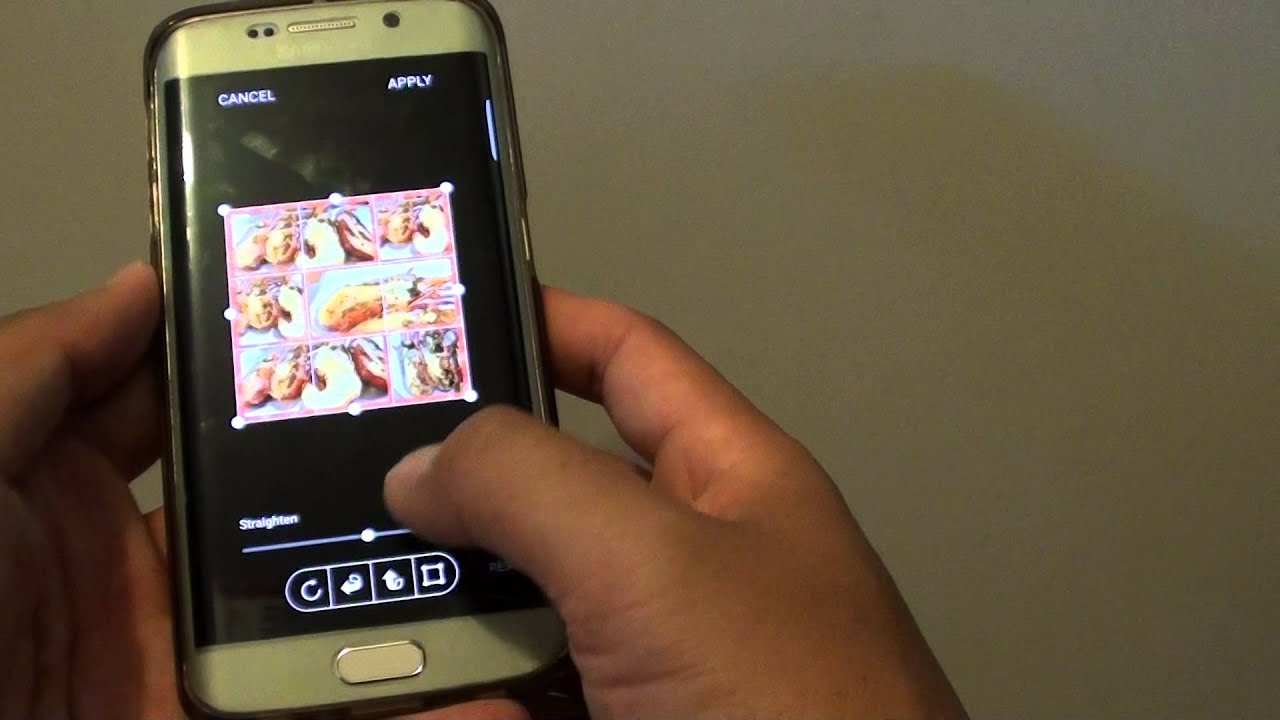
Flipping photos is a great way to add some visual interest and excitement to your images. It can also be a useful tool for fixing minor photo problems, such as when a horizon is not level. Luckily, there are a few different ways to flip photos on Android devices. In this article, we’ll show you how to flip photos using some of the most popular photo editing apps.
What is flipping a photo and how can it be used to improve images
Flipping a photo means to turn it upside down, or to reverse it left-to-right. This can be done for aesthetic reasons, or to correct orientation issues. For example, if a horizon in a photo is not level, flipping the image can often fix the problem.
How to flip a photo on Android devices using three different apps
There are a few different ways to flip photos on Android devices. One option is to use the built-in editing tools that come with most Android devices. Another option is to download and install a third-party photo editing app from the Google Play Store.
1. How to Flip Photos Using Built-In Editing Tools
Most Android devices come with built-in editing tools that can be used to flip photos. These tools are typically located in the “Photos” or “Gallery” app on your device.
To flip a photo using built-in editing tools:
- Open the “Photos” or “Gallery” app on your Android device.
- Select the image you want to flip.
- Tap the “Edit” icon (usually a pencil or wand).
- Click the “Rotate” icon (usually an arrow in a circle).
- Tap the “Flip Horizontal” or “Flip Vertical” button, depending on how you want to flip the photo.
- Tap the “Save” or “Done” button.
2. How to Flip Photos Using Third-Party Apps
If your Android device doesn’t have built-in photo editing tools, or if you want more editing options, you can download a third-party photo editing app from the Google Play Store. There are dozens of different apps to choose from, but some of the most popular options include PicsArt, Adobe Photoshop Express, and Photo Editor Pro.
To flip a photo using a third-party app:
- Open the Google Play Store on your Android device and search for “photo editor” or “photo editing”.
- Browse through the available apps and select one that you want to try.
- Tap the “Install” button and follow the on-screen instructions to install the app.
- Open the app and select the image you want to flip.
- Click the “Edit” or “Transform” icon.
- Tap the “Rotate” icon.
- Tap the “Flip Horizontal” or “Flip Vertical” button, depending on how you want to flip the photo.
- Save or image.
3. Tips for Flipping Photos
Here are a few tips to help you get the best results when flipping photos:
- If you’re trying to fix a horizon that’s not level, make sure to check the vertical line in the image as well. Flipping an image will reverse both the horizontal and vertical lines.
- Before flipping an image, try cropping it first. This can often help to improve the composition of the image.
- If you’re not happy with the results of a flip, you can always undo it by tapping the “Undo” button (usually an arrow pointing to the left).
Conclusion
Flipping photos is a great way to add some visual interest and excitement to your images. It can also be a useful tool for fixing minor photo problems, such as when a horizon is not level. In this article, we’ve shown you how to flip photos on Android devices using three different methods: built-in editing tools, third-party apps, and tips for getting the best results. So go ahead and give it a try!
