It’s easy to take screenshots on your Mac computer. All you need is the keyboard shortcut and a few seconds of time. Plus, if you want to crop your screenshot, there are several easy ways to do that as well. In this article, we’ll show you how to screenshot and crop on Mac in just a few simple steps.
What is a screenshot and how do you take one on a Mac computer
A screenshot is an image of what is currently displayed on your computer screen. Screenshots are often used to show someone else what you see on your screen, or to capture an error message or important piece of information that you can’t copy any other way. To take a screenshot on a Mac computer, simply press the “Command + Shift + 3” keys at the same time.
This will take a picture of your entire screen and save it as a PNG file on your desktop. If you only want to screenshot a portion of your screen, press “Command + Shift + 4” instead. This will turn your cursor into a crosshair, which you can then click and drag to select the area you want to take a screenshot of. When you release the mouse button, your screenshot will be saved as a PNG file on your desktop.
How to crop a screenshot on Mac
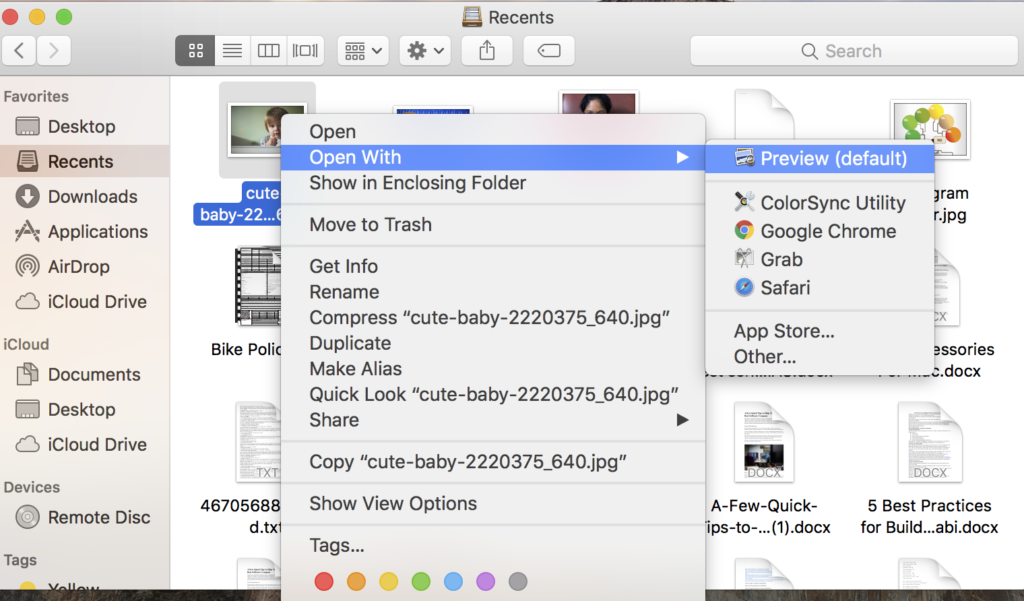
If you want to crop your screenshot after you’ve already taken it, there are a few different ways you can do that. One easy way is to open the screenshot in the Preview app, which comes pre-installed on all Mac computers. To do this, simply double-click on the screenshot file on your desktop.
Once the image is open in Preview, click on the “Tools” menu and select “Crop.” You can then click and drag inside the image to select the area you want to keep, and everything outside of that area will be cropped away. When you’re finished, just close the image and save your changes.
Another way to crop a screenshot is to use the “Markup” tool in the Messages app. To do this, open your screenshot in Preview and click on the “Markup” icon (it looks like a pencil). Then, click and drag inside the image to select the area you want to keep. You can also use the various editing tools in the Markup toolbar to annotate or draw on your screenshot before cropping it. Click on the “Done” button and your screenshot will be saved with your changes.
Additional tips and tricks for taking screenshots on your Mac
If you want to take a screenshot of just your active window (without capturing your entire screen), you can press the “Command + Shift + 5” keys. This will bring up the screenshot toolbar, which gives you the option to take a screenshot of your entire screen, a specific window, or a selected portion of your screen.
You can also use the screenshot toolbar to record a video of your screen. To do this, just click on the “Record” button and then choose whether you want to record your entire screen or just a selected portion. Once you start recording, the recording bar will appear at the top of your screen. You can click on it to pause or stop the recording, or to access other options like choosing a different microphone or recording your screen in slow motion.
Conclusion
Taking a screenshot on a Mac is a quick and easy way to capture what you see on your screen. And with the built-in tools for cropping and editing screenshots, it’s easy to get exactly the image you want. So next time you need to show someone else what’s on your screen, give it a try!
