Did you know that you can take screenshots on your Lenovo Thinkpad? It’s true! In this article, we will show you how to do it. First, we will give a brief overview of what screenshots are and why you might want to take them. Then, we will walk you through the process of taking a screenshot on your Lenovo Thinkpad. Finally, we will give some tips on how to use screenshots effectively. So let’s get started!
What are screenshots and why would you want to take them?
A screenshot is an image that captures the contents of a screen. Screenshots can be useful for many things, such as keeping a record of what was on your screen at a certain time, sharing information with others, or troubleshooting technical problems.
How to take a screenshot on a Lenovo Thinkpad
There are two ways to take a screenshot on a Lenovo Thinkpad: using the built-in screenshot tool or using the “Print Screen” key.
To use the built-in screenshot tool, follow these steps:
1) Open the Snipping Tool by searching for it in the Start Menu.
2) Click and hold the “New” button.
3) Drag your cursor to select the area of the screen that you want to capture.
4) Release the mouse button to take the screenshot.
5) The screenshot will be saved as a PNG file in your “Pictures” folder.
To use the “Print Screen” key, follow these steps:
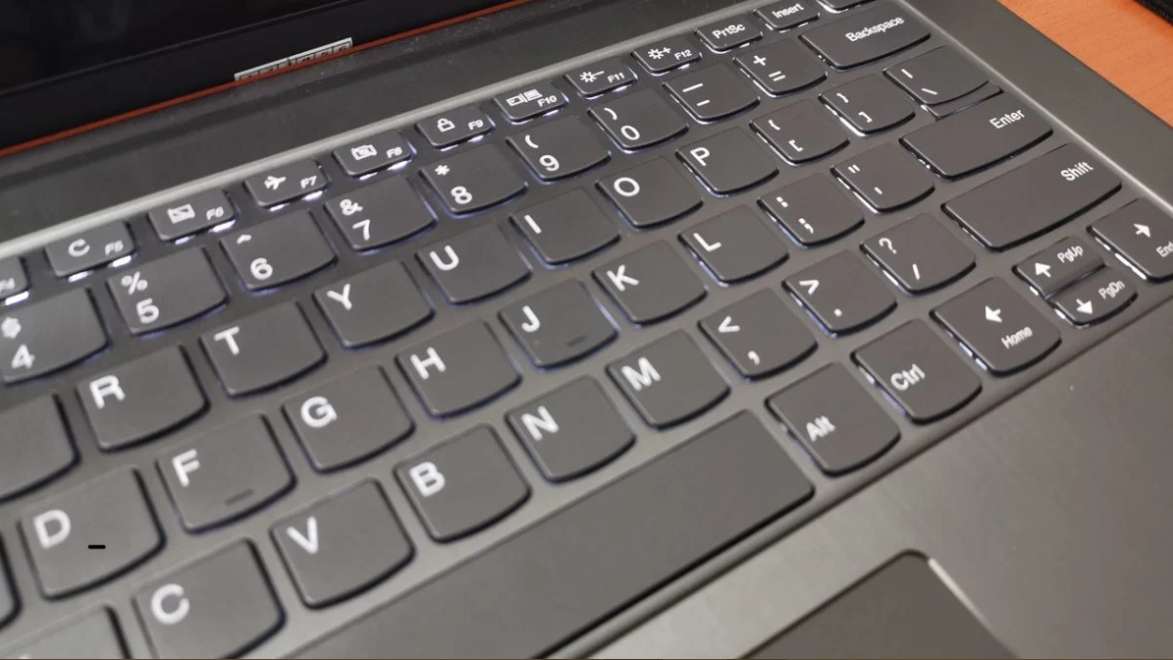
1) Press the “Print Screen” key on your keyboard. This key is usually located in the top-right corner of the keyboard.
2) Open an image editing program such as Paint or Photoshop.
3) Press CTRL+V to paste the screenshot into the program.
4) Save the file as a PNG or JPG.
How to screenshot using a third-party app
If you want more control over how your screenshots look, you can use a third-party app such as Snagit or LightShot. These apps give you the ability to annotate and edit your screenshots, which can be handy if you need to highlight something specific in the image.
When should you take a screenshot?
There are many situations where taking a screenshot can be useful. For example, if you come across an error message on your screen, taking a screenshot can help you troubleshoot the problem. Or, if you want to share something from your screen with someone else, taking a screenshot is an easy way to do it.
Tips for using screenshots effectively
Here are some tips to help you use screenshots more effectively:
– Use descriptive filenames: When you save your screenshot, give it a descriptive filename so that you can easily find it later. For example, if you’re taking a screenshot of an error message, you might name the file “error_message.png”.
– Annotate your screenshots: If you need to explain something in your screenshot, you can annotate it using an image editing program. This can be helpful when sharing screenshots with others.
– Take multiple screenshots: If you’re sharing a lot of information in your screenshot, consider taking multiple screenshots and putting them together in a document or presentation. This can help to keep your audience’s attention focused on the most important parts of the image.
Conclusion
Taking screenshots on your Lenovo Thinkpad is a quick and easy way to capture the contents of your screen. In this article, we have shown you how to take screenshots using two different methods. We have also provided some tips for using screenshots effectively. So don’t wait any longer – start taking screenshots today!
